Ok, so it’s been a few years since I last blogged about anything. For sure a loooot has happened since my last post on the Fish Shell, but I thought I might as well pick up the writing where I left off.
Since my last post I’ve switched out Fish Shell in favour of Zsh.
My Zsh setup works quite similar to the previous Fish Shell setup, but I found that Zsh has a better support for Bash scripting, especially those evaluation lines like var=$(some command to evaluate) that we as DevOps engineers run into all the time :D
Non the less I’ve made that switch, and this is what I’ve done to get my current setup.
Installing Zsh
Installation is mostly available without setting up any specific repos etc. As I’m currently running Debian, I would install zsh as follows:
sudo apt install zsh
To make zsh your default shell simply run the following command and restart your terminal of choice:
chsh -s /usr/bin/zsh
Configuration Zsh
Upon the first time you use your terminal with the new zsh shell, you’ll be prompted for a few options on how to generate the detault configurations file ~/.zshrc:
This is the Z Shell configuration function for new users,
zsh-newuser-install.
You are seeing this message because you have no zsh startup files
(the files .zshenv, .zprofile, .zshrc, .zlogin in the directory
~).  This function can help you with a few settings that should
make your use of the shell easier.

You can:

(q)  Quit and do nothing.  The function will be run again next time.

(0)  Exit, creating the file ~/.zshrc containing just a comment.
     That will prevent this function being run again.

(1)  Continue to the main menu.

(2)  Populate your ~/.zshrc with the configuration recommended
     by the system administrator and exit (you will need to edit
     the file by hand, if so desired).

--- Type one of the keys in parentheses ---
I usually just go with option 0 to generate an empty config file.
~/.zshrc is similar to what you might know from Bash’s ~/.bashrc, this is where you would do your alias and export VAR etc.
Oh My Zsh
As “Oh My Fish” for the Fish, “Oh My Zsh” adds support for theming and more to zsh.
Installing:
sh -c "$(curl -fsSL https://raw.github.com/ohmyzsh/ohmyzsh/master/tools/install.sh)"
Running the command above, will make changes to your exsisting ~/.zshrc. It will also set a default theme which you can change with the following property:
ZSH_THEME="agnoster"
More themes can be found here: https://github.com/ohmyzsh/ohmyzsh/wiki/Themes
Plugins
In you ~/.zshrc you’ll also find a list named plugins. Here you can activate various buildin and downloaded plugins/extensions to zsh.
I would highly recomment setting up “zsh-autosuggestions” as follows:
git clone https://github.com/zsh-users/zsh-autosuggestions ${ZSH_CUSTOM:-~/.oh-my-zsh/custom}/plugins/zsh-autosuggestions
Enable the plugin in ~/.zshrc:
plugins=(
  # other plugins...
  zsh-autosuggestions
)
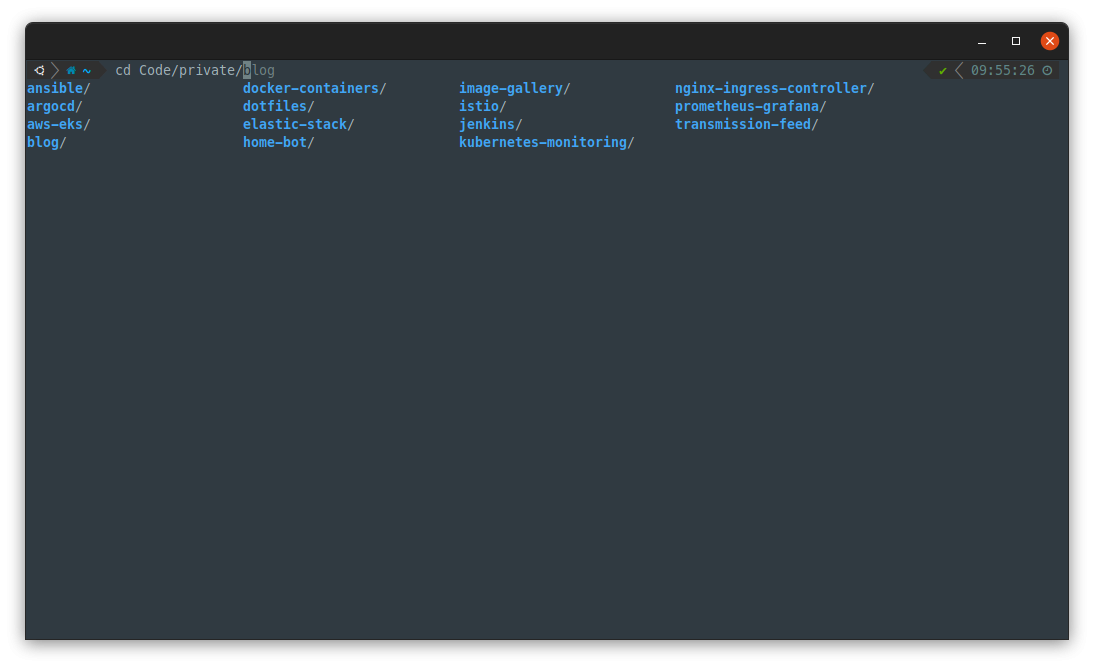
Now, once you start typing commands in your shell you’ll continuously see suggestions as below. If a suggestion match what you would like to do, you can complete it with the “right arrow” key.
You can also cycly through similar commands using the “up” and “down” arrows - Hit “enter” when happy.
More plugins can be found here: https://github.com/ohmyzsh/ohmyzsh/wiki/Plugins
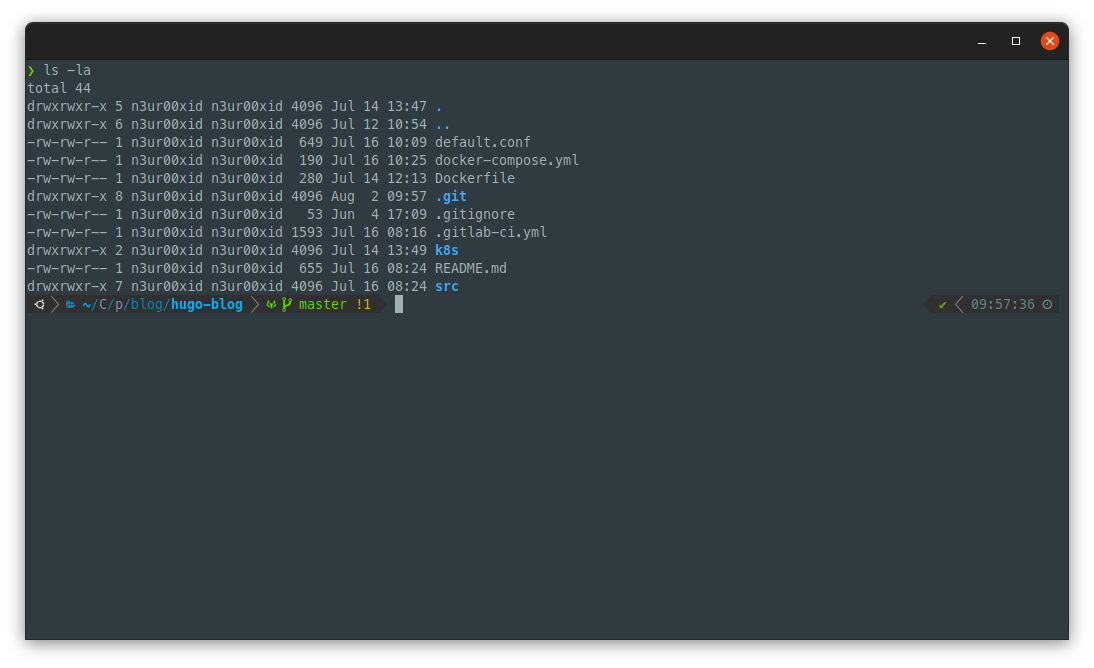
Powerlevel10k
Just a really awesome theme for Zsh, easily installed for Oh My Zsh as well.
Installing:
git clone --depth=1 https://github.com/romkatv/powerlevel10k.git ${ZSH_CUSTOM:-$HOME/.oh-my-zsh/custom}/themes/powerlevel10k
Enable the theme in ~/.zshrc:
ZSH_THEME="powerlevel10k/powerlevel10k"
Configuring:
p10k configure
More on configuration etc. can be found here: https://github.com/romkatv/powerlevel10k